How Much Flannel Do I Need for a Baby Blanket
How to Make a Flannel Babe Receiving Blanket


When my girl was born, a friend of my mom gave us a stack of flannel receiving blankets similar to these. To be honest, I wasn't very excited — what was I going to do with a bunch of squares of flannel? Ridiculous!
I was Then wrong. Those flannel blankets ended up being the single about useful matter nosotros had for our baby. We used them for impromptu changing pads, breadbasket time, burp cloths, swaddling cloths, baby carrier dominicus shades, stroller sunday shades, car sun shades, or any time we needed to protect either the baby or the surface from the other. We used them in the car, on trips, at the park, at abode. We used those blankets well into her toddler years—every single mean solar day until they were completely worn out.
Then when a friend of mine was almost to take her kickoff granddaughter, I knew immediately EXACTLY what I wanted to give the expecting Mom. I came up with my own design to add the decorative flange effectually the edge. The project does include a few inches of manus-stitching, only I was still able to finish all four of these blankets in an afternoon. Here's how I make them:
Stride i: Assemble Supplies

For each receiving blanket yous will demand:
-
one yard flannel for the front
-
1 yard flannel for the back
-
Cut tools (rotary cutter, mat & ruler OR ruler, pencil and scissors)
-
Cloth measuring tape
-
Needle & thread
-
Chopstick or other blunt tool
-
Direct pins
-
Sewing motorcar
I chose to brand the front and back contrasting flannels, just you lot could make them all the same. You need a total of 2 yards for each blanket, 1 for the front end and 1 for the back. Delight, be sure to buy quality flannel from a quilting shop or reputable online store!! Inexpensive flannel will pill almost instantly, so if you want them to last, purchase quality!
Since I am a quilter, I prefer to use my quilting mat, rotary cutter and ruler, but y'all can also use a straight edge, pencil and scissors. I will give alternative instructions at each step.
You lot tin can also hand-sew together this entire projection if you don't have a sewing auto. But use a basic running run up everywhere at that place is machine stitching.
Step 2: Fold Flannel for Cutting

Take your starting time piece of flannel and fold information technology selvedge to selvedge edge. Yous can be certain that it is on the direct of grain past making sure that at that place are no wrinkles on the folded edge. So fold the selvedges toward the folded edge so that the entire piece of fabric has been folded in half twice making a long skinny strip with the raw edges on the end.
Pace 3: Foursquare Up the Raw Terminate

Position your ruler so it is square with the border of the cloth and double check to brand sure that all of the raw edges are to the right of the ruler. You don't want to cutting the fabric and find out later on that information technology'due south likewise short!

In one case you're certain all the edges volition get caught in the cut, then apply your rotary cutter to cut off the stop.

If you lot are using scissors, marking a line with a pencil and cut with scissors.
Step 4: Measure out and Marker

Flip the fabric around, keeping the edges lined up. Using a cloth measuring record, measure from the cut stop over to 35" and place a direct pin to marker the spot. If for some reason your flannel is besides brusk (this sometimes happens with extra shrinkage), detect the largest measurement that will fit and make sure to brand all the pieces the aforementioned measurement going forward. I take fabricated cloths as small as xxx" and they work fine.
Step 5: Cut to Length

Identify your ruler at the spot where the pin is. Here's a shut up:

Make sure the ruler is square to the edge and tight with the pivot. Remove the pivot and cut the end off with the rotary cutter. (Once again, if you lot are using scissors, marking with pencil and cut with scissors).
Step 6: Cutting a Tie

Before you lot motility on, accept the cut piece from the terminate and cutting yourself a 1"-ii" strip to use every bit a tie for later.
Step 7: Refold the Flannel

Unfold your flannel and refold information technology with the cut edges the long way, border to edge and then again. You should at present accept a long skinny strip with the selvedge edges on the short end every bit pictured above.
Stride 8: Trim off the Selvedge Edge

Position the ruler square and cutting off the selvedge border.
Stride 9: Measure and Mark

As before, utilize the cloth record measure to measure 35" and marker with a pivot. (If you are using a different measurement, use the same one every time).
Step 10: Cutting the Terminal Finish

Position the ruler at the pin position, remove the pin and cut off the stop of the textile.

You can save this larger piece for using in some other projection.
You lot should now have your first piece of flannel measuring 35" square.
Footstep eleven: Cut and Position Back

Using the same instructions equally for the front, cut your second piece of flannel for the back. Open up both pieces and position them right sides together, matching upwards all the edges and corners. You can brush the flannel with your easily similar a broom to gently adjust the position.
Step 12: Pin

To be honest, I rarely pivot things, just in this case I exercise. Because the two pieces of fabric are so large, you are likely to accept movement and end upward with the edges or corners not matching. To prevent this, pivot effectually all edges.
Step thirteen: Sew Around Edges

With your sewing motorcar (or by hand if you lot are sewing by manus), sew around the edges of the two pieces of flannel using a ane/2'" seam allowance. but don't go all the way! Leave an opening approximately 8"-10" long forth one border. Be certain to backstitch at the beginning and catastrophe of your stitching.

When y'all are finished, y'all should have an opening forth the border.
Step fourteen: Turn

Plow the project right side out past pushing all of the fabric through the opening.
Step 15: Refine the Seams and Corners

Use a blunt took to run along the edges and corners from the inside (put your arm through the pigsty) so the fabric is completely turned. You lot can use a chopstick or the handle of a butter knife. I personally employ a burnishing tool that my husband gave me (it is an art supply particular that he had on hand). Just be sure it is blunt!! Don't use a pair of scissor points, for example, as you volition likely poke through the seams! (Learned that the difficult way!)

Poke the tool into the corners to go them equally square equally possible.
Step 16: Printing
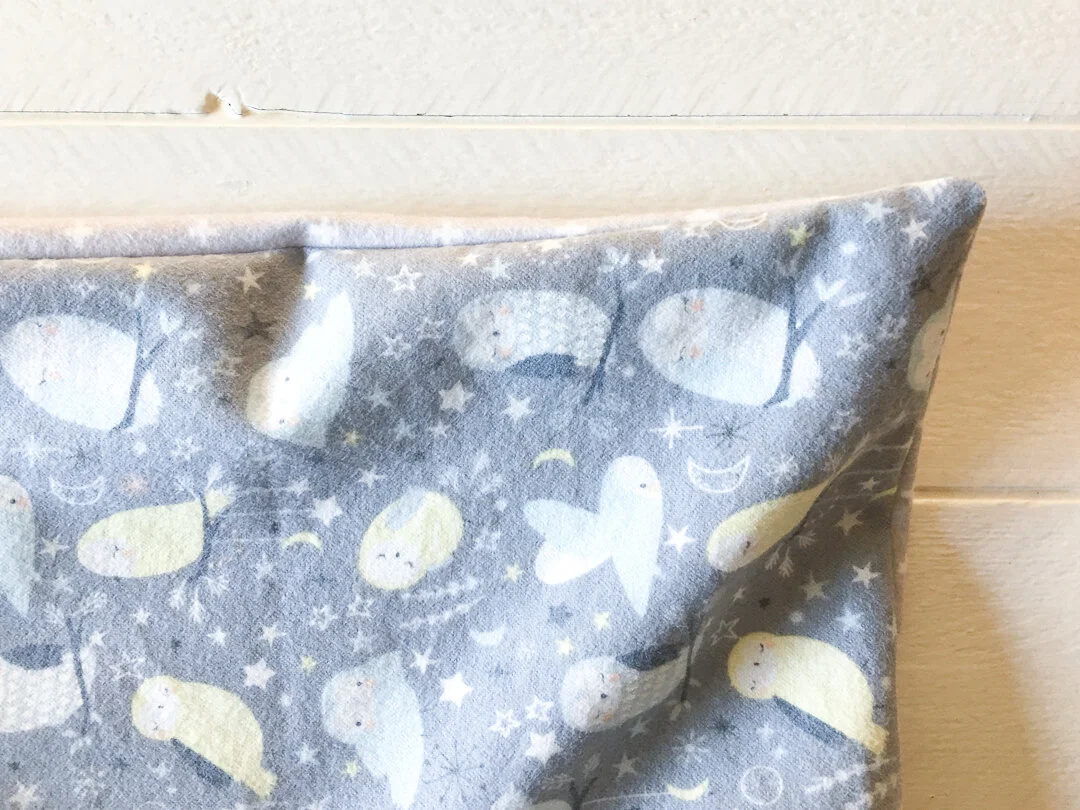
At present y'all should have a right-side-out square of double-thickness flannel with some floppy seams. Using your iron, carefully press effectually all the corners and edges so they are dainty and flat. I usually use my fingers and rub/whorl forth the border to brand sure it's not getting caught inside.
Where the seam is open up, press the edges in so it forms a continuous line with the stitched department.
This is how your edges should expect:

Step 17: Close the Opening

We're on the home stretch!! Yous should now take something that is starting to expect like a receiving blanket, except for the seam that is still open.
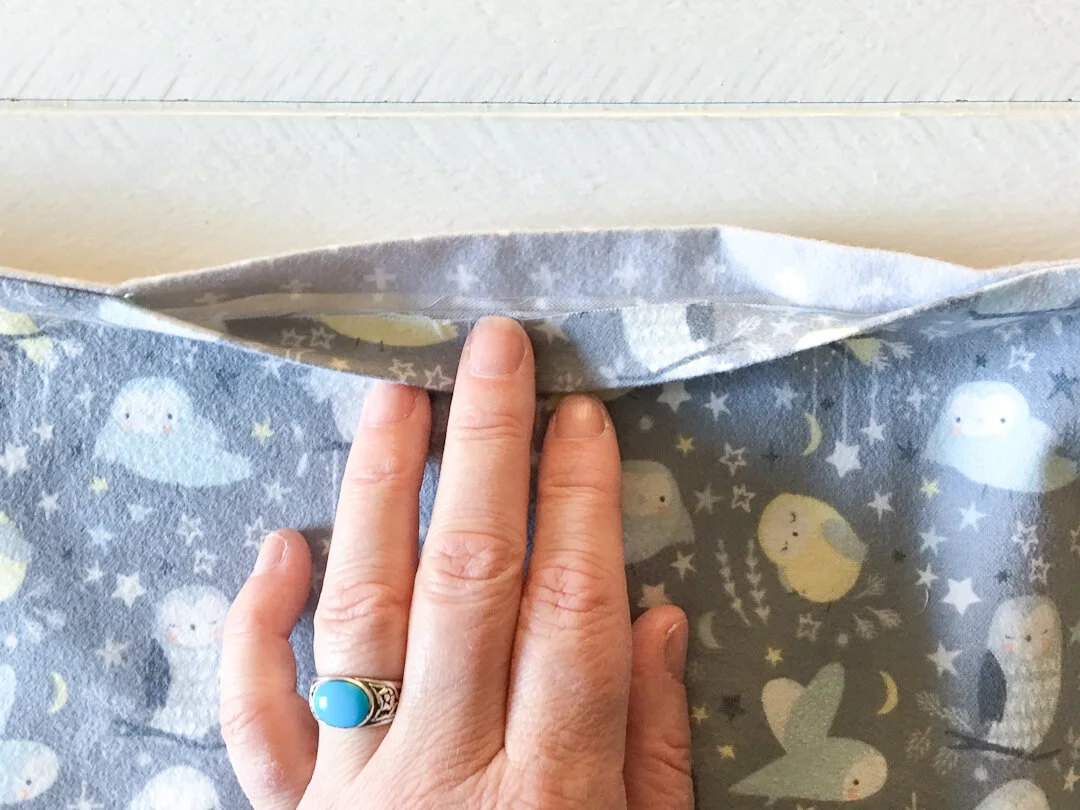
Close the opening using the Ladder Stitch, which is a running stitch but where the stitches switch sides of the opening. If you need more than help on this stitching technique, check out my tutorial How to Stitch: Ladder Run up Tutorial.


Step 18: Measure out and Mark the Flange

You are almost done! All that is left is to topstitch the flange. The flange is non simply decorative, it helps keep the receiving blanket apartment and square in the wash.
Use your ruler to mensurate 2 1/2" from each corner. Mark with pins.

In addition, find a 2 1/two" measuring mark on the bed of your sewing machine. If you lot don't have 1, use a piece of painters tape to record a guide 2 one/ii" from your needle.
Step 19: Topstitch the Flange
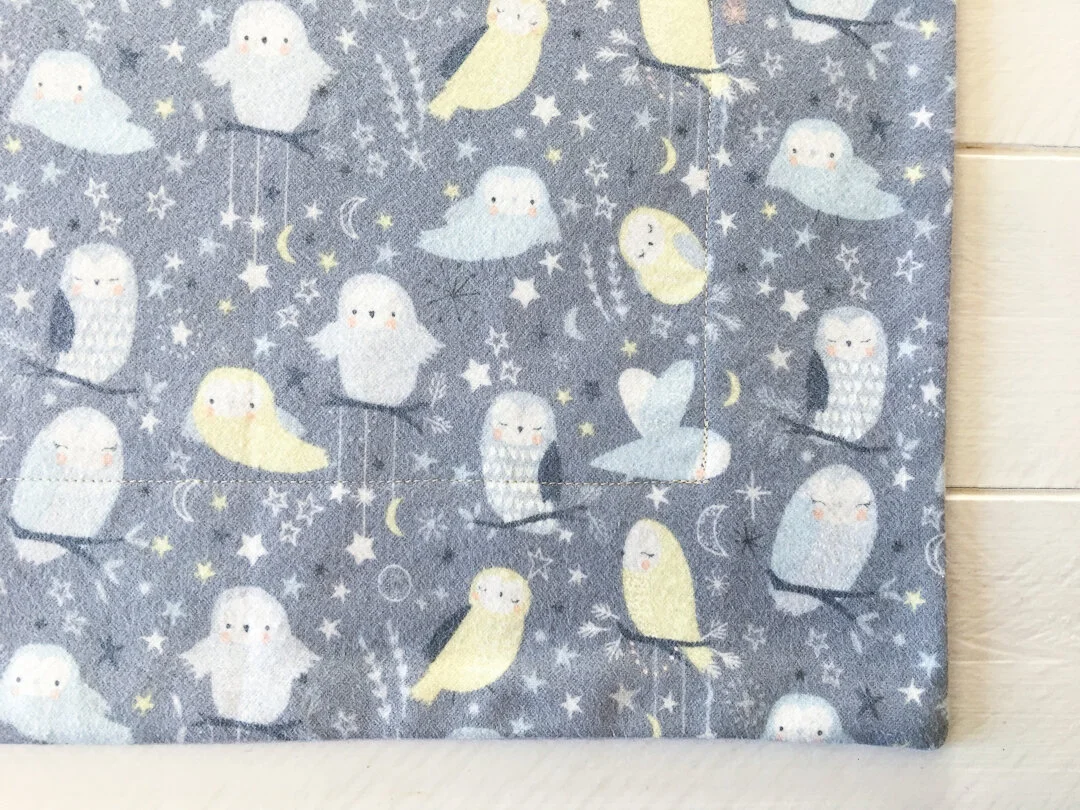
Using your guides on the bed of the sewing automobile and the corners of the blanket, topstitch two 1/2" from the border, all the way around the blanket. Backstitch at the corners for added durability.

You Are Finished!


Congratulations!
You have finished your baby receiving blanket!
At present that you know how to make one, you can make several. They are so fast and piece of cake to brand they brand excellent gifts, peculiarly when rolled in a petty bundle and sent along with a cuddly friend.
I hope you'll savor making these. If y'all do, definitely let me know! Annotate below or come on over to on Facebook or Instagram. In the meantime, here's to a snuggly afternoon!


How Much Flannel Do I Need for a Baby Blanket
Source: https://www.simplecreativehome.com/post/flannel-baby-receiving-blanket